Getting Started
Set up your PhotoFounder account and start accepting bookings in minutes.
Signing Up
- Visit photofounder.com and choose a plan (Starter, Pro, or Business).
- Create your account with your business email.
- Verify your email address.
- Your account is ready in seconds — everything is set up automatically.
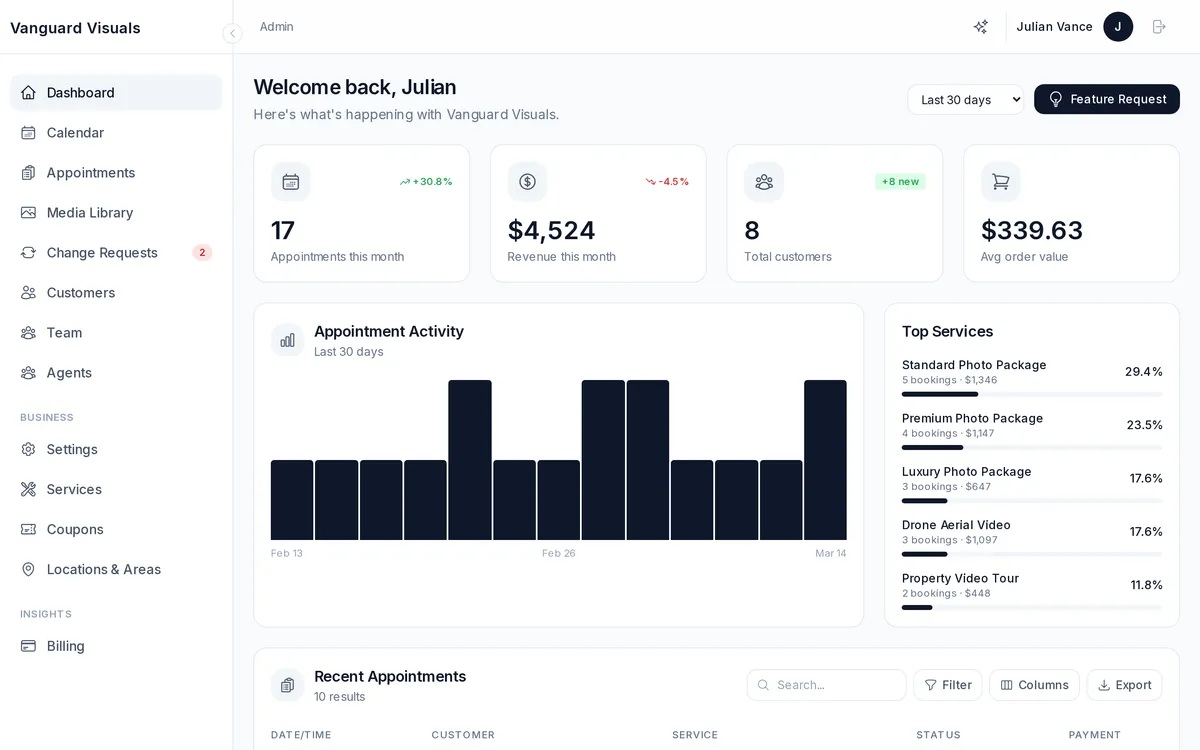
Your Portals
Once your account is active, you get three web portals:
| Portal | URL Pattern | Who Uses It |
|---|---|---|
| Admin Dashboard | {your-business}.admin.photofounder.com | You and your team |
| Booking Portal | {your-business}.book.photofounder.com | Your clients (real estate agents) |
| Customer Portal | {your-business}.app.photofounder.com | Your clients (view orders, galleries, marketing kit) |
All three can also be accessed via your own custom domain if you set one up.
First Steps
- Add your business info — name, logo, phone, email, address, timezone.
- Create your services — define what you offer (interior photos, drone, twilight, etc.) with pricing and duration.
- Add team members — invite photographers, editors, and admins.
- Set up locations & service areas — define where you operate and any travel fees.
- Connect Stripe — start accepting online payments immediately.
- Share your booking link — send your booking portal URL to clients.